I want to change some of the text and background colors I see in Data Entry and View, how do I do that?
Note: For examples of custom colors in Drake data entry screens, see "Setup > Colors - Examples of Color Selections" in Attachments below. For help with customized colors in View Mode, see "Changing View Mode Color Setup" below.
To modify data entry colors, go to Setup > Colors to open the Color Selection dialog box.
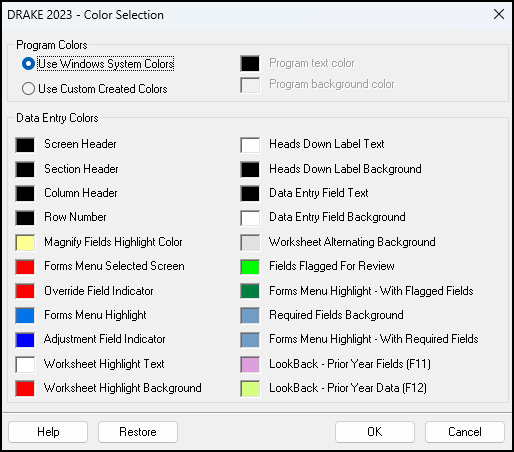
Program Colors.
Use Windows System Colors is the default Program Colors selection. The option uses the default colors for the Windows theme displayed by your computer, of which the Program text color and Program background color are components.
To edit Program text color and Program background color, you must first select Use Custom Colors to enable editing.
Data Entry Colors.
To edit a color field in Data Entry Colors, click the field. See Attachments below for examples of how color changes affect the software display.
Editing Colors
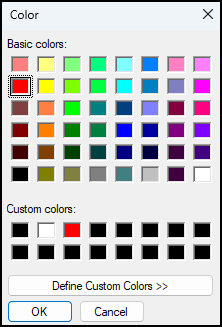
When a color field is clicked for editing, the Color dialog box opens.
- On the Color dialog box, select a new basic color and click OK to complete the selection and return to the Color Selection dialog box.
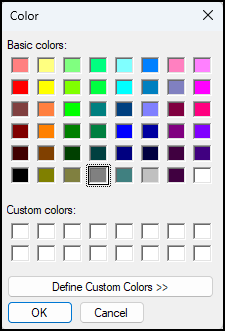
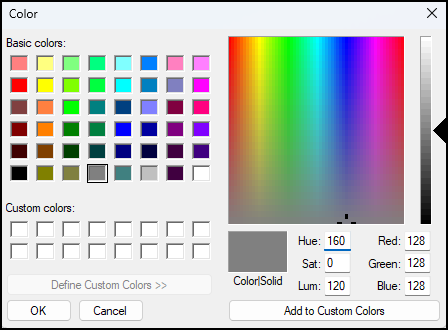
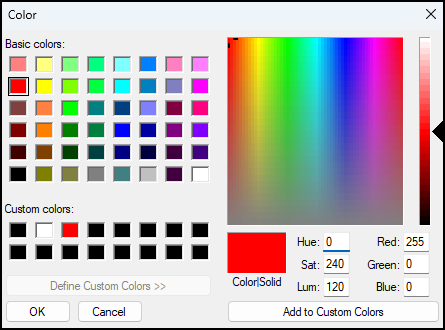
- On the Color dialog box, you can also click Define Custom Colors to select a shade that differs from the basic colors provided. Color can be selected by clicking the multi-color display and adjusting the slider control on the right. Click OK to complete the selection and return to Color Selection dialog box.
- On the Color Selection dialog box, click OK to save changes.
Note: When selecting data entry colors, be sure to consider way text color will appear with data field color. For instance, if you choose a certain color for the Data Entry Field Background, and choose the same color for Data Entry Field Text, the fields in data entry may appear to empty or blank.
Restoring Data Entry Default Colors
- Go to Setup > Colors to open the Color Selection dialog box.
- Click Restore and then OK to save changes.
Changing View/Print Mode Color Setup
Selecting New Colors
- Go to View/Print mode of any return.
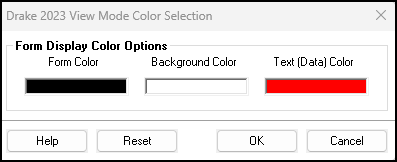
- Click the Setup button on the toolbar at the top. From the drop menu, select Form Colors.
- On the View Mode Color Selection dialog box, click in the color field you want to change:
- On the Color dialog box, select a new basic color and click OK to complete the selection and return to the View Mode Color Selection dialog box.
- On the Color dialog box, you can also click Define Custom Colors to select a shade that differs from the basic colors provided. Click OK to complete the selection and return to View Mode Color Selection dialog box.
- On the View Mode Color Selection dialog box, click OK to save changes.
Resetting View/Print Mode Colors to Default
In step 3 above, click Reset to restore the original default colors, and OK to save changes.
Watch the video for a demonstration.
On a scale of 1-5, please rate the helpfulness of this article
Optionally provide private feedback to help us improve this article...
Thank you for your feedback!