To create the state e-file for the Maryland W-2 and MD Form MW508, complete the following steps:
- Ensure the Maryland Central Registration Number and the NAICS Code are entered (Client > Edit > State tab).
- Create the Federal W-2 with MD selected in box 15. Choosing Save or Save/Print when finished. This also creates the MD W-2.
- Steps vary depending on whether you are using the Employees module or the On-the-Fly module. See below for details.
- Go to e-Filings > W-2 > Create File to create the W-2 e-file.
- Complete the MD Form MW508 and Save or Save/Print when finished.
- Steps vary depending on whether you are using the Employees module or the On-the-Fly module. See below for details.
- Upload the e-file to the test site to see if there are any issues with the e-file.
- Upload the e-file to the non-test site when ready.
Message Appearing After Creating the MD W-2
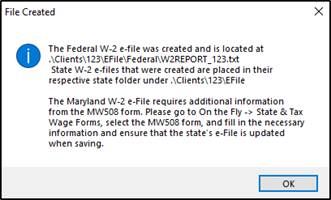
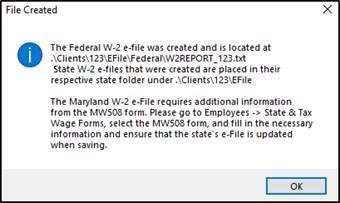
When you create the MD W-2 e-file, you will receive one of the messages below, depending if you completed the W-2 under the Employees module or the On-the-Fly module. The data information below is for demonstration purposes only. In both cases, the message instructs you to complete the MD Form MW508 after creating the W-2 e-file:
On-the-Fly module
If you created an On-the-Fly W-2 (On-the-Fly > Federal Forms), you will need to go to On-the-Fly > State Tax & Wage Forms, select the MD Form MW508, and accurately complete it.
Employees module
If you created an Employee W-2 (Employees > Federal Forms), you will need to go to Employees > State Tax & Wage Forms, select the MD Form MW508, and accurately complete it.
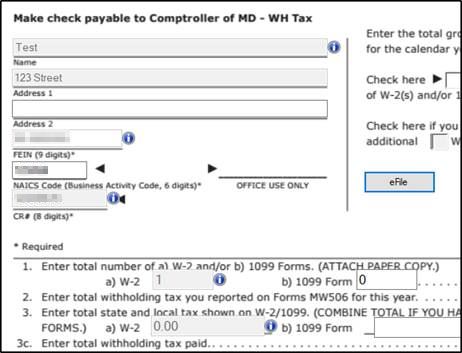
Blue Validators on the MD Form MW508
Ensure the e-File checkbox at the top of the Form MW508 is checked.
After creating the W-2 e-file and opening the MD Form MW508, you will see blue validators on certain areas of the form. These blue validators are informational in nature to help you ensure that the data is correct. They will not prevent you from saving the form. It is a good idea to hover your mouse over the blue validator to see what the message is so you can determine if the information entered in these fields and on the state W-2 are correct.
Finishing the Maryland W-2 e-File and Form MW508
When creating a state W-2 e-file for MD, the data for the MD W-2 and the Form MW508 will be in one e-file that you will then upload to the applicable state agency. It is recommended you upload the e-file to the test site before uploading it to the non-test site.
When the MD Form MW508 is accurate, click Save or Save/Print at the top of the screen to update the MD e-file. You will receive one the following messages, depending if you completed the form under the Employees module or under the On-the-Fly module:
Employees Module

On-the-Fly module
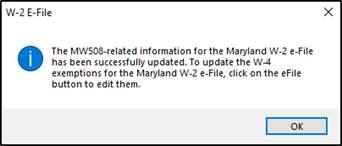
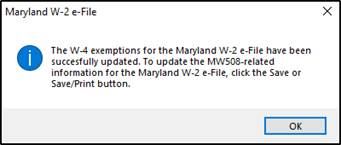
The eFile Button on the MW508 is available under the on-the-fly version of the form. This will allow you to change the number of W-4 exemptions in the e-file, if needed. If you update the number of W-4 exemptions, you will see the following message:
Once the form is accurate and complete, click Save or Save/Print.
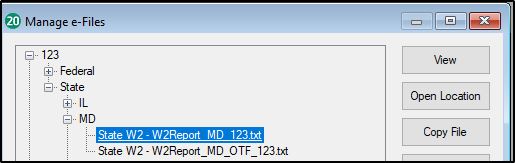
The Maryland W-2 e-File under e-Filings > Manage e-Files.
The e-files shown below contain the data for both the MD W-2 and the Form MW508.
You can go to e-Filings > Manage e-Files to see which e-files have been created. Your screen may look similar to this (data below is for demonstration purposes only), depending on e-files you have created and if they were completed under the Employees module or under the On-the-Fly module. The screenshot below shows two MD W-2 e-files, one created under Employees and one created under the On-the-Fly module to demonstrate the difference in the naming of the e-files. “123” represents the Client Code entered under Client > Edit:
You can click on an e-file and then click Open Location for a window to open that has the e-file that you will then upload to the applicable state agency. You can also access the Manage e-Files screen by clicking the link at the bottom of the page when in a form.