How do I use the Client Profile section of the Drake Portals Connect tab?
You can upload and download client information through the client profile.
- The Client Profile section allows you to upload profile data based on prior year information,
- Then the client can verify or alter the uploaded the profile data,
- You can then download the data and use it to auto-fill portions of the client’s return.
- If you have enabled the Client Profile, even if you have not uploaded any data from the return, the taxpayer is able to enter/update their information. This information is not brought back into the return until the process is initiated by the preparer-- see full process below. To disable the client profile, go to Drake Documents > SFP Settings > Connect Features tab and uncheck the option Client Profile.
- Note: When you upload the Client Profile, a Checklist of forms that were completed in the prior year are shown on the Checklist tab in the client's account. This list is dynamic and based on the prior year data entry. No selections can be made to add or remove forms from this list-- it is completed automatically by the program.
To use Client Profile (1040):
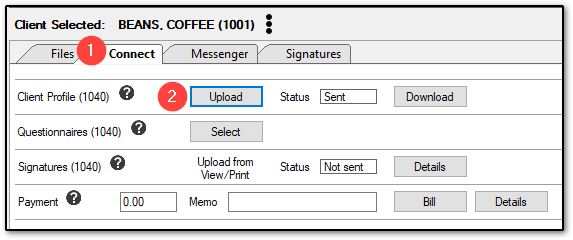
- Click on the Connect tab.
- Click Upload.
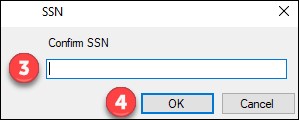
- Enter the client’s SSN.
- Click OK.
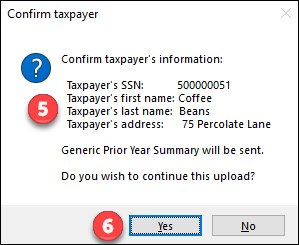
- Review the taxpayer's information.
- If the information is correct, click Yes.
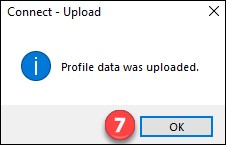
- Click Ok on the confirmation window.
Note: The status updates to “Sent” on the Connect tab in the Drake Portals pane.
- The client receives an email invitation to review their uploaded profile.
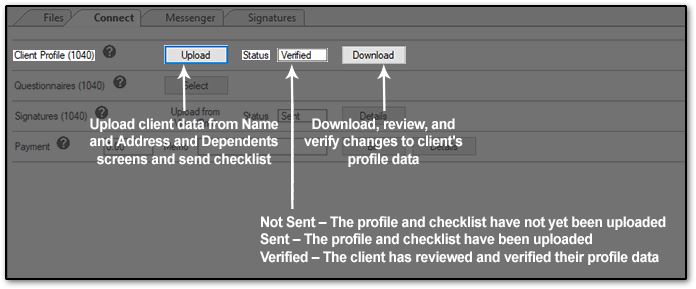
- The preparer is able to review the status of the uploaded profile on the Drake Portals pane:
- Not Sent – The profile has not yet been uploaded.
- Sent – The profile has been uploaded.
- Verified – The client has reviewed and verified their profile data and the data is ready to be reviewed, downloaded, and changes imported into Drake Tax.
- Once the status reads Verified, click the Download button:

- Enter the client’s SSN on the dialog.
- Click OK.
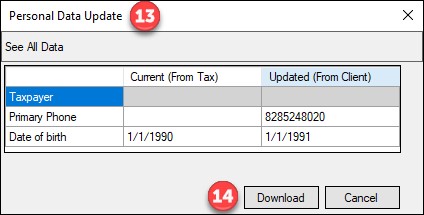
- Any changes made by the client may be reviewed on the Personal Data Update window.
- To accept the client’s changes, click Download.
- A message appears stating that the next time the return is opened it will be filled in with the downloaded profile data.
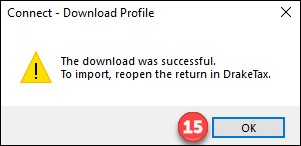
- Click OK to return to Drake Documents.
Note: Click on the black question mark beside Client Profile for more information.
On a scale of 1-5, please rate the helpfulness of this article
Optionally provide private feedback to help us improve this article...
Thank you for your feedback!