What are the basic steps to create a new return?
Open/Create Overview and Options
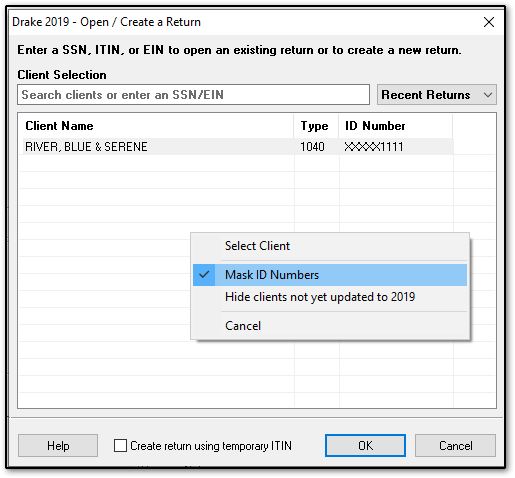
Starting with Drake19, the open/create menu has been optimized to allow you to easily access and open client returns. The format has been modified to display three columns: Client Name, Type, and ID Number. By default, the SSN/EIN is truncated on this display, however, you can toggle this option by right-clicking on the grid and unchecking the option Mask ID Numbers.
You can search for clients by typing in a name (first, last, or any part) or the SSN/EIN. The search is dynamic and begins returning results as you type:
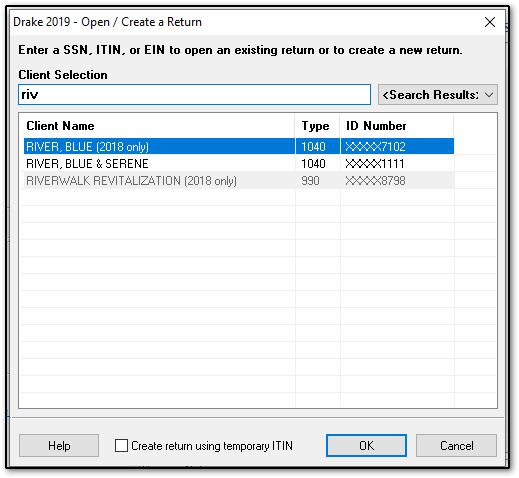
Returns that have not yet been updated from the prior year will show the designation (20XX only) after the listed name, and the text will be grayed out. If you want to update that client to this year, simply select that line and click OK (or double-click on the return). You will be presented with the Update Options window where you can select options and update the return. Active (previously updated) returns will show in black lettering. Select the return and click OK to open.
If you are a PPR user, be sure that you have selected the correct client to update as you will be charged to open it in data entry.
You can also browse by category of return with the drop list to the right of the client selection search bar:
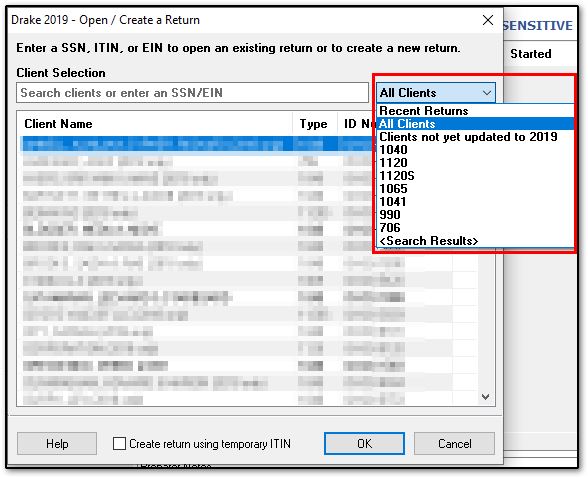
Browse categories include the following:
- Recent Returns (default)
- All Clients
- Clients not yet updated to 20YY
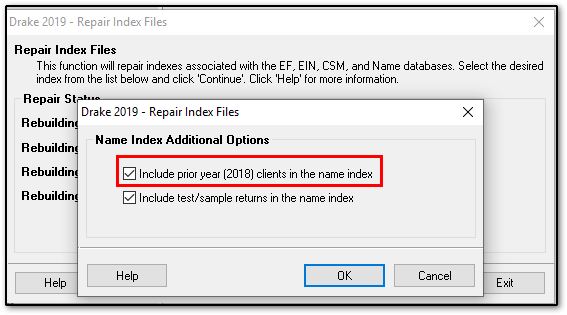
- If you do not have returns showing under this menu, go to Tools > Repair Index Files > Name Index > Continue and choose the option to Include prior year (20XX) clients in the name index.
- If you have completed a batch update of all prior year clients (not recommended), this list would also be blank as all clients would have been updated to 20YY.
- Return types: 1040, 1120, 1120-S, 1065, 1041, 990, 706.
- Search Results (automatically switches when you begin typing)
Creating a New Return
To create a new return that does not exist in either the current or prior year, follow these steps:
- Select Open/Create in the top left corner of the software home page.
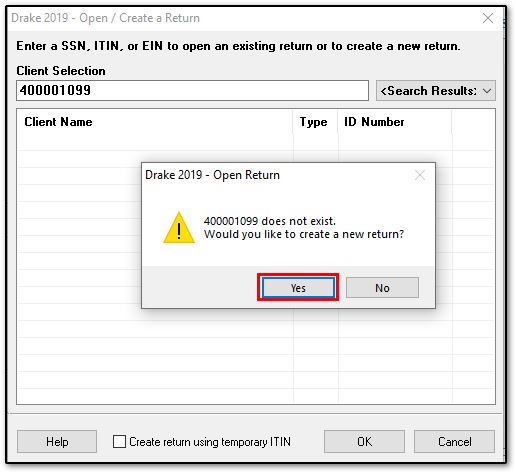
- Enter the taxpayer’s SSN (or EIN if creating a business return) in the Client Selection box.
- Do not enter the dashes between the numbers. Enter only the nine digit SSN/EIN.
- If you enter in dashes, you will get a message that says "Client not found" and will be unable to continue.
- Click OK.
- A message is displayed asking if you would like to create a new return. Select Yes.
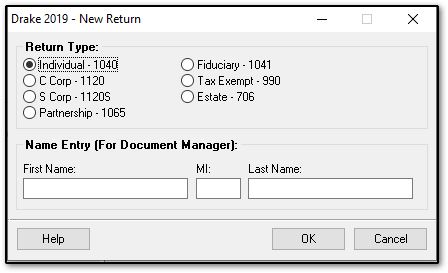
- In the New Return dialog box, choose a return type and enter the name. Click OK.
- The return opens to screen 1, the Name and Address screen (demographics). Select a Filing Status and enter information as necessary (blue fields are required).
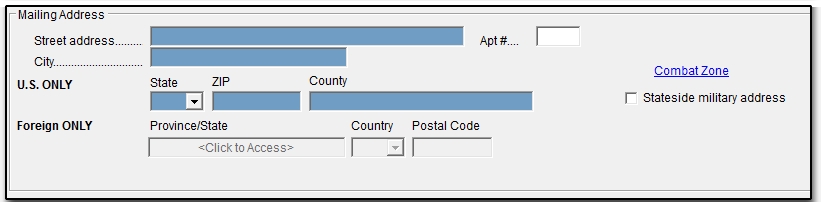
After you enter the zip code and press Enter, the software fills in the city, state, and resident state. You will need to select the resident city and school district (if applicable).
If the taxpayer lived in multiple states during the tax year, select PY (part-year) as the Resident State (field located directly below the Mailing Address section).
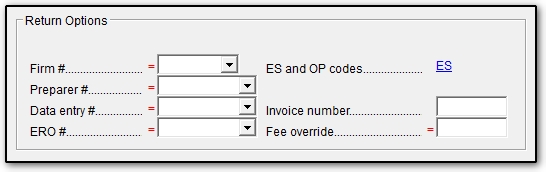
- Return Options: The default for Preparer # is the logged-in preparer. If you are logged in as Admin, Preparer 1 is the default. Enter a total preparer fee in the Fee override field if you are not charging by time or per form. Press Esc to exit the screen.
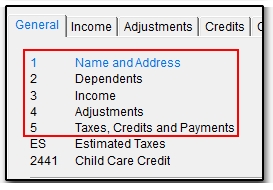
- The software returns you to the General tab. Screens numbered 1 to 5 represent sections of a 1040 return. Data (such as taxable interest less than $1,500) not requiring a schedule may be directly entered on each screen. Note: The key combination Ctrl + G will open Forms Based Data Entry with links to other data entry screens.
- Located on the General tab are many of the common screens, such as the W2, 1099, SSA, A, 2106, and 2441 screens.
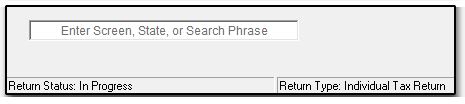
- To access other forms, enter the form number in the field available at the bottom of each data entry screen.
- Additional screens are also available on each tab across the top of data entry.

Note: Highlighted tabs indicate screens have been completed on that tab.
- Once all data has been entered, select View or use the key combination Ctrl + V to calculate and view the return. Select Data Entry or use the key combination Ctrl + E to return to data entry for additional entries or adjustments.
See Related Links below for more information about navigating through Data entry, including creating multiple data entry screens for a particular form or schedule.