How do I add a custom page, or edit the checklist/questionnaire on the Organizers?
To access the Organizer Editor, begin by creating a client Organizer through Last Year Data > Organizers. In the Proforma/Organizer Options window, select Custom Editor from the bottom of the screen to open the Drake Custom Editor window.
To edit the Checklist or Questionnaire page, select Open and then select the Organizer page you would like to edit. The Custom Editor page has a toolbar across the top of the screen, as well as several "panes" below. The right pane (the largest of the panes) has a list of items, that will appear in the document. Click the arrow to the left of each category/item to show a list of forms nested underneath.
There are three smaller panes to the left of the Custom Editor window: Available Items, History, and Deleted Items. To the right of the Custom Editor window are two smaller panes: How to Use, and Selected Item Details. Each time an item on the left pane is selected, a description and instructions on how to customize that field are shown in the How to Use section, and the line item appears in the Selected Item Details pane, where it can be edited. Once the changes have been made in the Selected Item Details pane, click Save.
To add line items, choose from the selections in the Available Items pane, then drag and drop into the desired location. This list is broken down into two types of selections:
- Standard items are Drake Software provided items that can be added or removed as necessary.
- Custom items allow you to add specific items that you many need or want to the client Organizers.
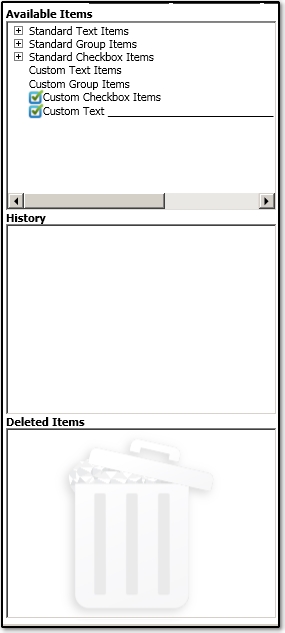
To delete any selection from the client Organizer pages, click and drag the line item to the Deleted Items trash can.
Once all changes have been made, click Save, and then Preview to see how the page will look in a sample generated organizer. If needed, click the Restore button across the top of the page to restore back to the default page design and selections. After the custom Questionnaire has been edited and saved, it can be included with the client's documents using the Form Options menu. This menu can be located at the bottom of the Proforma/Organizer Options window. Once the Form Properties Editor window opens, check the box next to the Questionnaire option to include this form with the printed set. Once all changes have been made, click Exit. Proceed with the Organizer selection by clicking Process 1040.
For more information about Organizer creation, see Related Links below.