How do I create and edit an appointment in the Scheduler?
Creating an Appointment
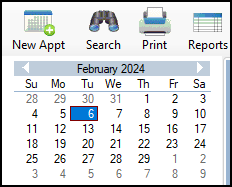
To create an appointment for a client, open the Scheduler (either from Desktop icon or icon in Drake Tax) and click New Appt.
On the appointment screen, enter the date and time of the appointment. Select the preparer with whom the appointment is scheduled.
Next, enter the ID number of the client. If this client is already in your tax software for the year, you will receive a pop-up asking if you would like to auto-fill the rest of the information. Otherwise, enter the name, address, and other fields manually.
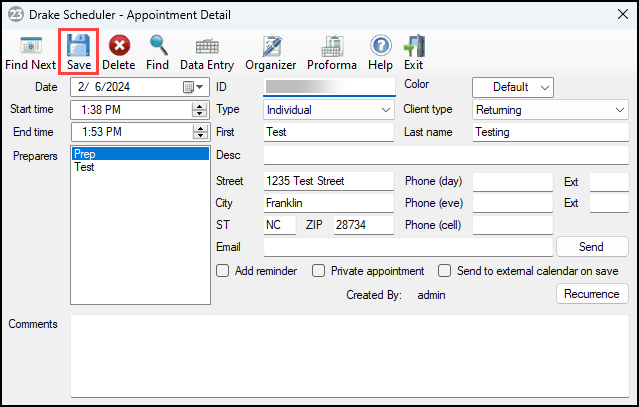
When you are done creating the appointment, click Save at the top.
Editing an Appointment
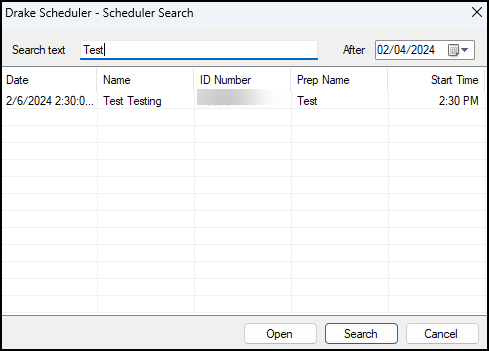
To edit an existing appointment, first locate that appointment. This can be done by selecting the Search icon at the top of the screen, and entering the client’s name or date of appointment.
Another way to find a client appointment is by browsing the calendar. Available options include daily, weekly, or monthly views.
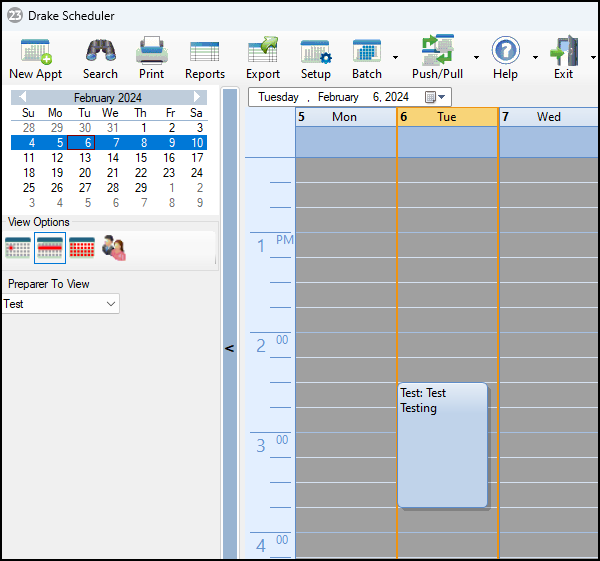
Once the appointment is located and selected, you have the option to edit it. Be sure to select Save when you are done making changes.