Drake Accounting - Reinstalling a New Version
Article #: 15042
Last Updated: July 22, 2025

Important Before starting this process, it is suggested to create a backup of your Drake Accounting information.
Uninstalling DAS
To uninstall Drake Accounting:
-
Right-click on Start and go to Apps and Features (or Programs and Features).
-
Locate and click on Drake Accounting 20YY and select Uninstall.
-
When the Drake Accounting 20YY Setup Wizard comes up click Next.
-
Click Uninstall.
-
Click Remove.
-
Click Finish once the process is complete.
Important Do not remove or rename the folder (DrakeAccountingYYYY) that remains on the drive that DAS was originally installed on. It is necessary when the software gets reinstalled in the next part.
Reinstalling DAS
-
Go to DrakeSoftware.com and sign into Support in the upper right hand corner.
-
Once signed in, go to Download > Drake Accounting and select the applicable year from the Version Year drop down.
-
Click Download.
Note A Drake Accounting Agent will stay on the line with you while you complete the following process.
-
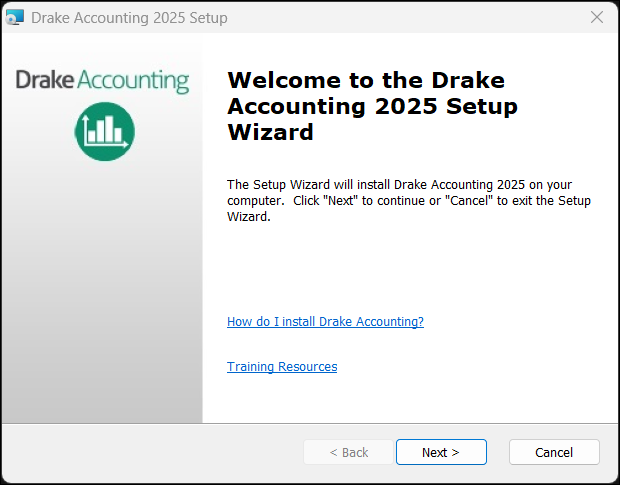
The Install Wizard popup displays. Click Next.
-
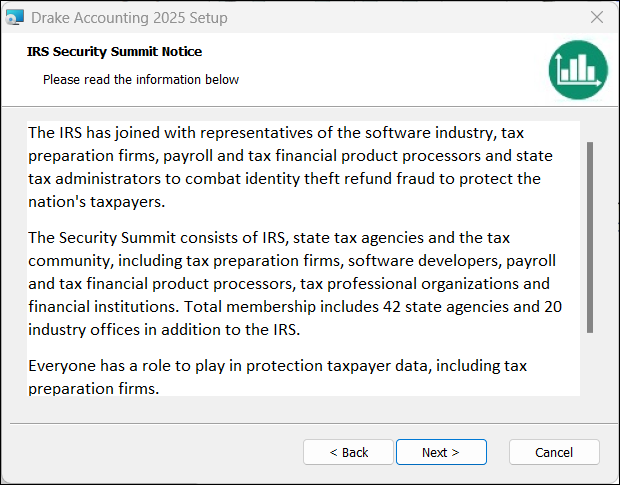
The IRS Security Summit Notice displays. Click Next.
-
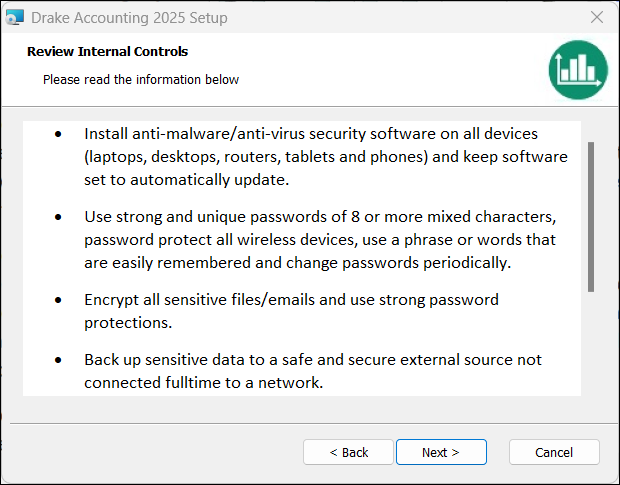
The Review Internal Controls popup displays. Read through it and click Next.
-
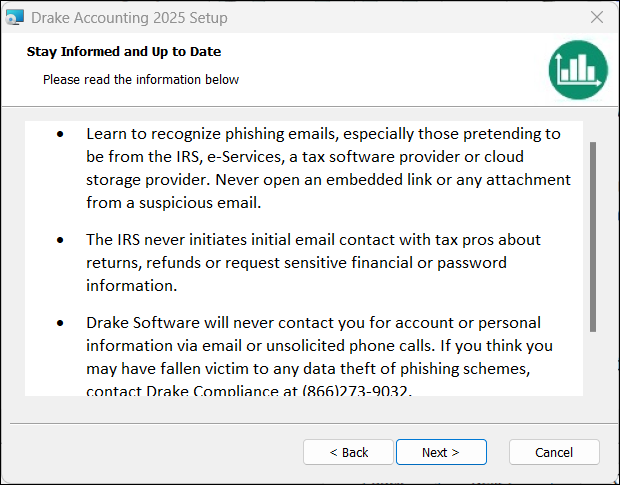
Read through the Stay Informed and Up To Date window and click Next.
-
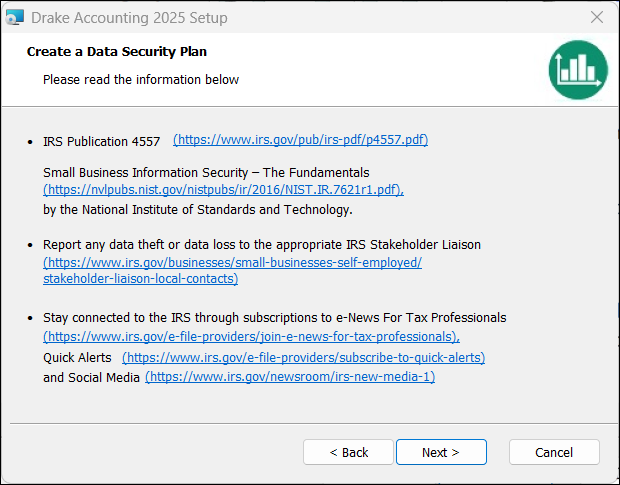
Directions on creating a data security plan will display. When done reviewing, click Next.
-
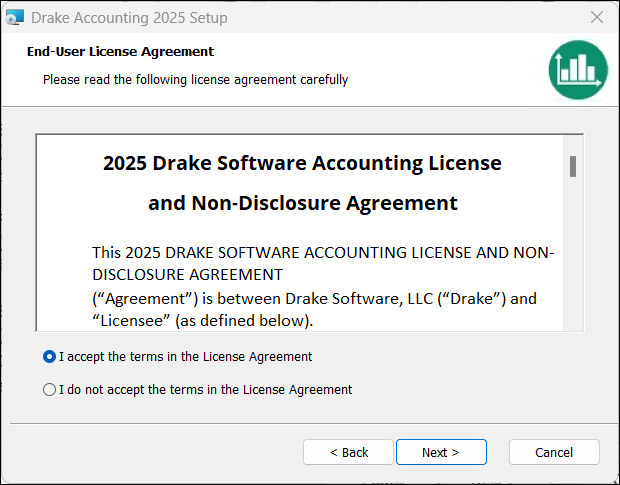
Accept the End-User License Agreement and click Next.
-
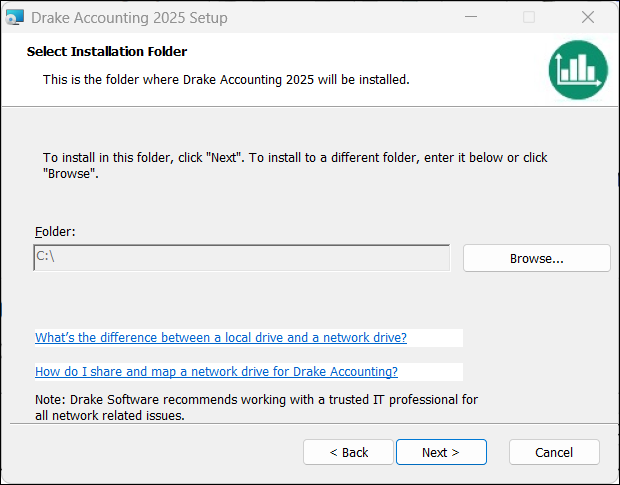
Select the drive you want to install Drake Accounting to and click Next.
-
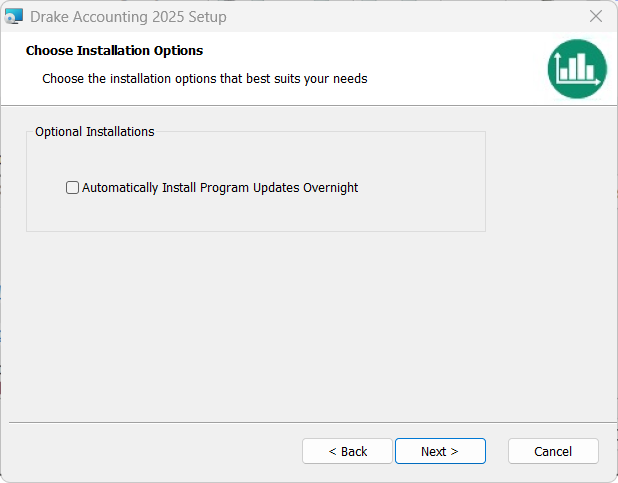
Choose installation options and click Next.
-
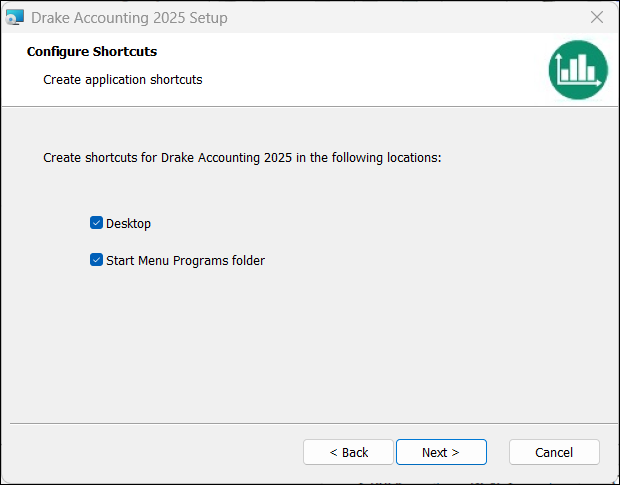
Choose your shortcuts and click Next.
-
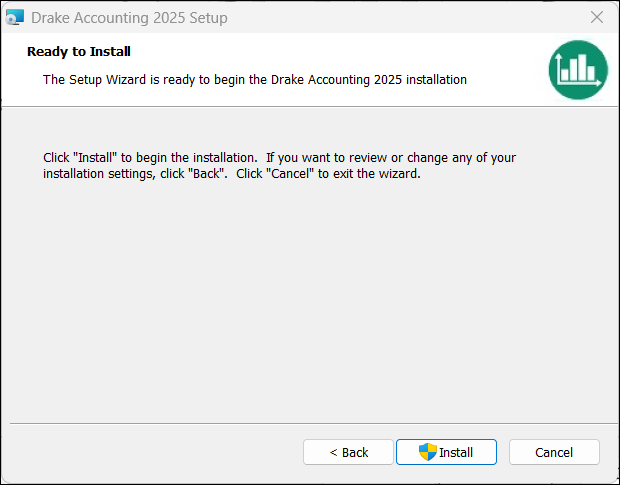
Click Install.
