Drake Tax Online - Data Entry Basics
Article #: 18785
Last Updated: October 14, 2025

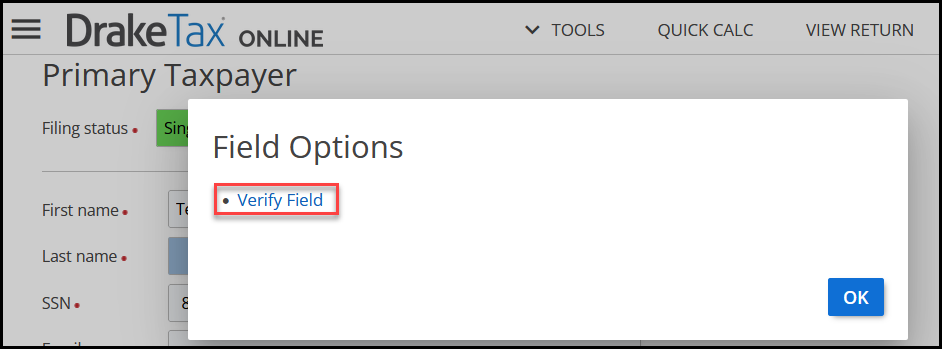
You can clear an individual verified field by right-clicking on the field and choosing Verify Field on the Field Options window.

Admin users only: To clear ALL unverified fields in the return, select the option Clear all unverified fields at the bottom of the Taxpayer Information screen.
Attach a PDF
To attach a PDF, first, type PDF in the Form Code search box on the left. Once the page loads, do the following:
-
In the Reference Source field below, enter the publication, regulation or form instructions that require an attachment.
-
In the Description field, enter a short description that clearly identifies the document.
-
Enter the name of the PDF file that you are uploading in the File Name field.

Important Only alphanumeric characters are allowed in the file name.
The file name must end in .pdf.
-
At the bottom, click Save.
-
Go to Tools > PDF Attachments.
-
Click the paper-clip icon.

-
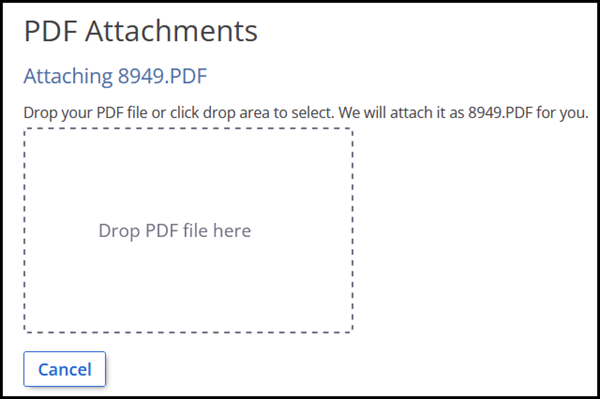
Drop your attachment into the drop area or click in the drop area to browse to the attachment location on your computer.

-
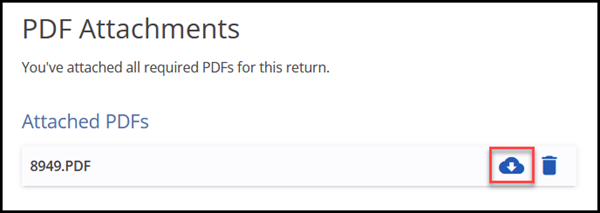
Once the PDF is attached, a cloud icon will display to the right. You can click this icon to redownload the attachment to your device.

-
To replace the attached PDF, click the trashcan icon to remove the attachment and select an alternative attachment.
Lock Form
Administrators can add forms to the list of locked forms inside a return (Tools > Lock Forms). This means that only an administrator can add information to, or edit the information already entered, on a locked form.
Important This setting only locks the form for that specific tax return (taxpayer). Drake Tax Online - Setup Options discusses other lock options that can be used globally.