Drake Accounting - Changing the Calendar Year
Article #: 18576
Last Updated: December 05, 2024

There are two ways to change the calendar year in DAS depending on how you use the software:
-
If you use DAS for payroll purposes only, you can manually change the calendar year via the Client menu.
-
If you use DAS’ Accounting (bookkeeping) module, do NOT use the Client menu; doing so can result in changes to journal totals. Instead, perform a year-end close in the prior-year software.
To change the calendar year:
-
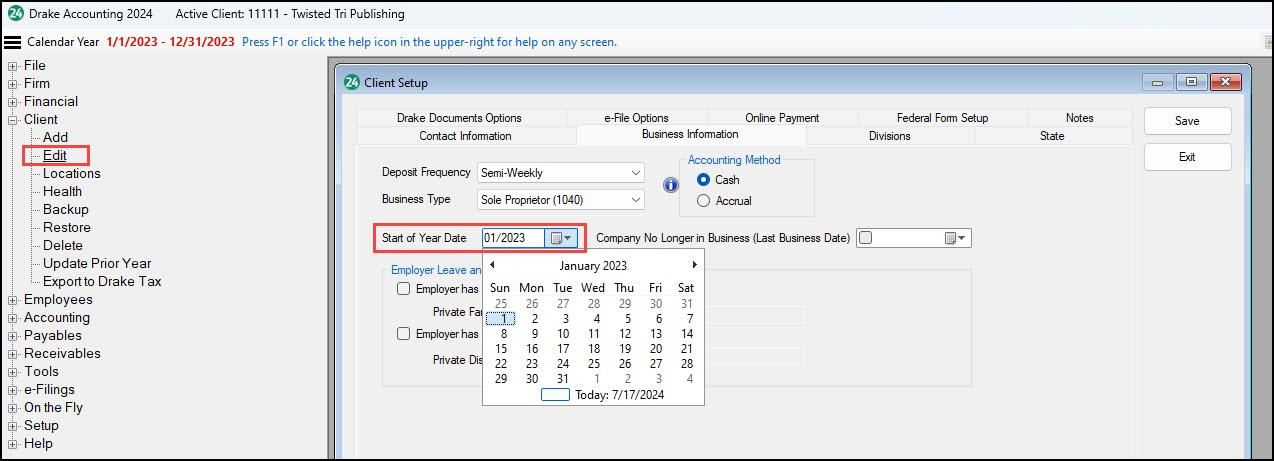
Go to Client > Edit to open the Client Setup screen.
-
Select the Business Information tab.
-
Change the Start of Year Date as needed.

-
Click Save.
-
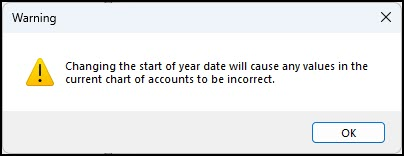
A warning appears before changes are finalized. Click OK to confirm your calendar-year change.

DAS Accounting/Bookkeeping Users
To change the calendar year:
-
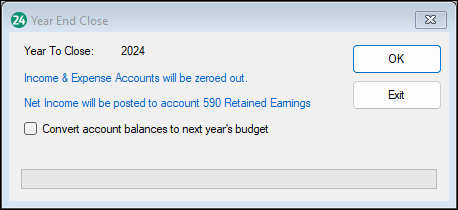
In the prior-year software, go to Accounting > Year End Close.
-
On the Year End Close window, click OK.

-
You are notified that the Year End Close completed. Click OK to confirm the close. The current calendar year is now displayed in the upper-left corner.

Note Contact Drake Software Support at (828) 349-5908 if you have either of the following issues:
-
In the prior-year program, the Year End Close screen indicates that the year has been closed, but the expense account is not zeroed out.
-
In the current-year program, the start-of-year totals are incorrect.