Drake Pay and Drake Refund Pay - Application Process
Article #: 18326
Last Updated: January 13, 2026

To apply for Drake Pay or Drake Refund Pay, you must meet certain requirements and complete an online application. For more information about program features, see the Drake Pay and Drake Refund Pay pages.
The video Drake Pay also demonstrates how to apply for and use Drake Pay.
-
Operate as a business based in the U.S.
-
Currently be a Drake Software customer using one of the integrated products listed below:
-
Drake Tax
-
Drake Portals*
-
Drake Zero*
-
Web1040*
-
Drake Accounting*
-
-
Complete and submit a Drake Pay merchant application.
-
Receive Drake Pay merchant application approval.
-
If you would like to accept payments via a Point of Sale (POS) device (Drake Pay - Credit & Debit card processing only), you must use one of the devices integrated with Drake Pay. See Drake Pay - POS Device Ordering for details.
*Drake Refund Pay (pay-by-refund) is not available.
Apply for Drake Pay and Drake Refund Pay
If you would like to apply for both Drake Pay (credit card, debit card processing, and ACH) and Drake Refund Pay (pay-by-refund), follow these steps:
-
Log in to the Drake Software Support website.
-
Go to Products > Drake Pay.
-
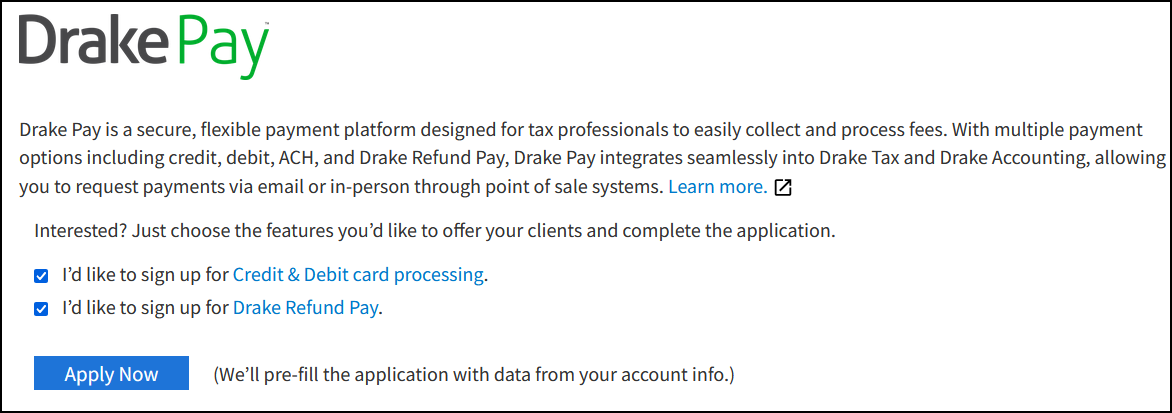
Review the information, select both I'd like to sign up for Credit & Debit card processing and I'd like to sign up for Drake Refund Pay, then click Apply Now.
-
Account details are prefilled where possible.
-
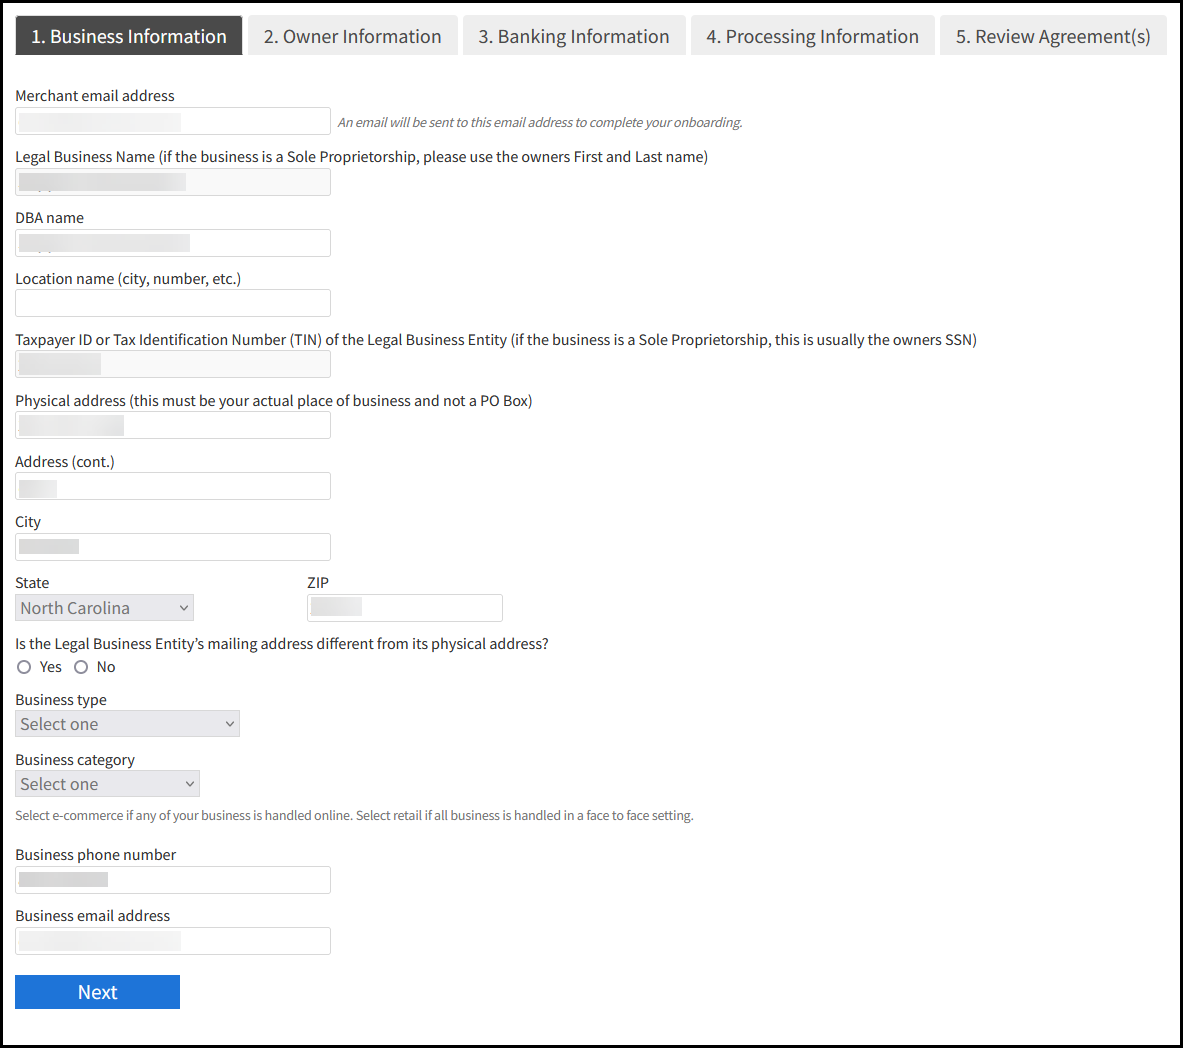
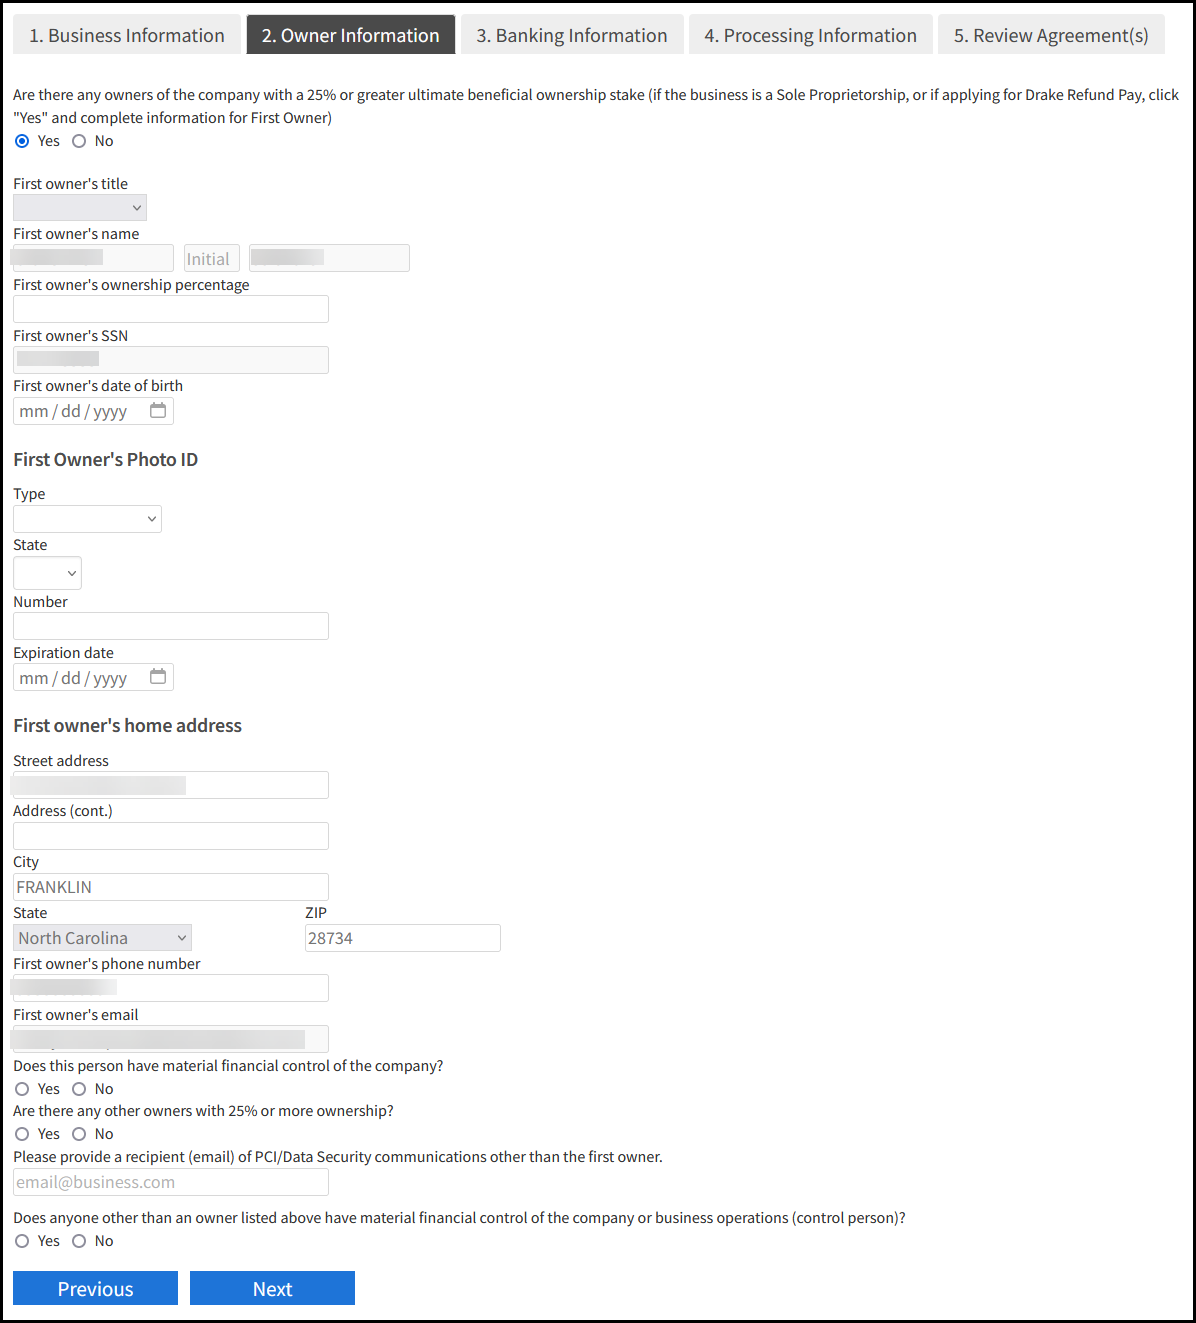
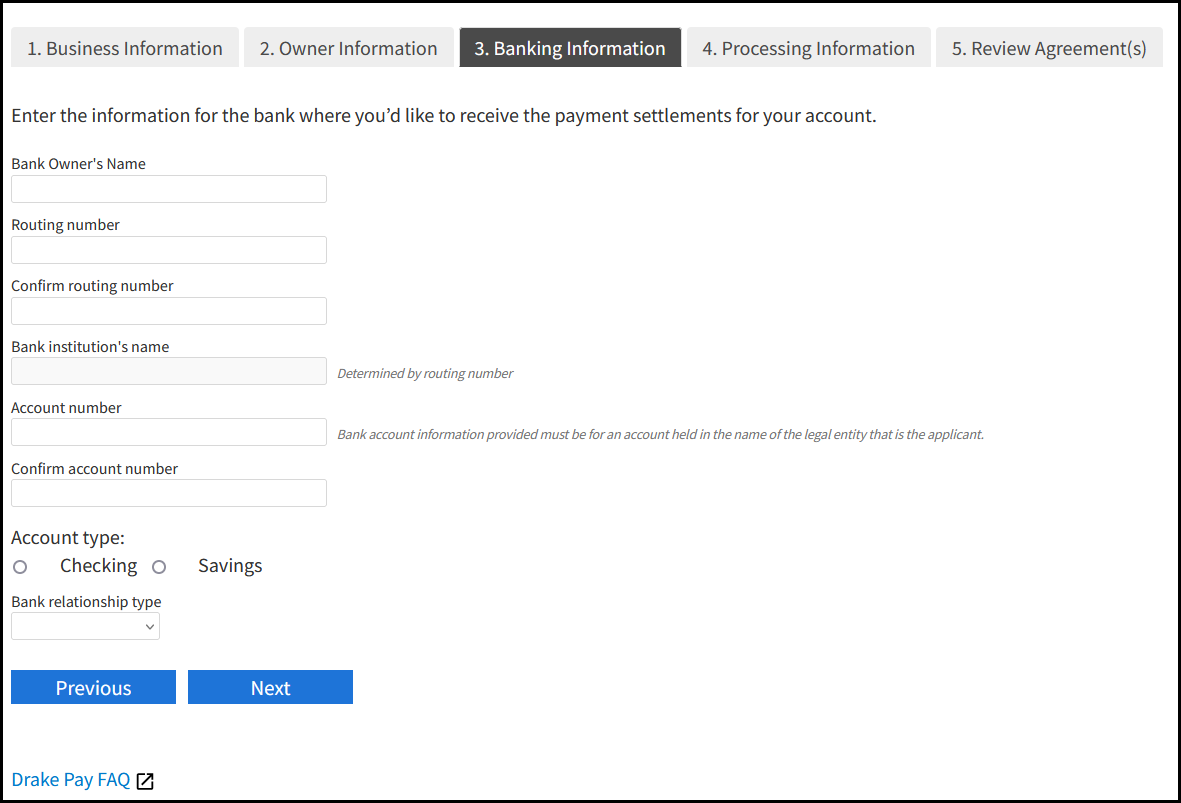
Verify your selections and complete the required information on the following tabs:
-
Business Information
-
Owner Information
-
Banking Information
-
Processing Information
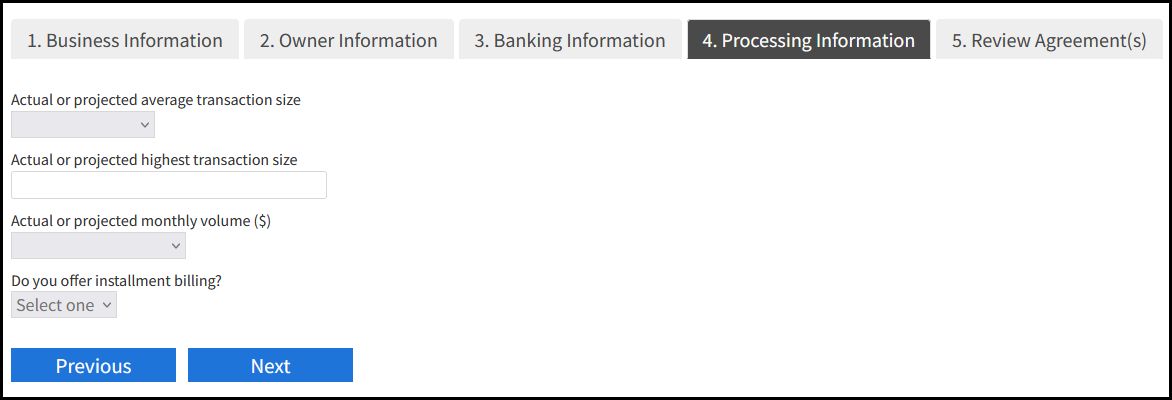
-
Review Agreement(s)

-
-
Click Submit.
-
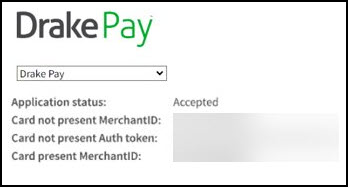
Once the application has been accepted, you will receive a confirmation email and see the status of Accepted when you log in to the Drake Software Support website. The confirmation email will have a link to the Back-Office Reporting portal (you will be prompted to set up a password).
Apply for Drake Pay Only
If you would like to apply for Drake Pay - credit card, debit card processing, and ACH only, follow these steps:
-
Log in to the Drake Software Support website.
-
Go to Products > Drake Pay > Credit and Debit Card.
-
Review the information and click Apply Now.
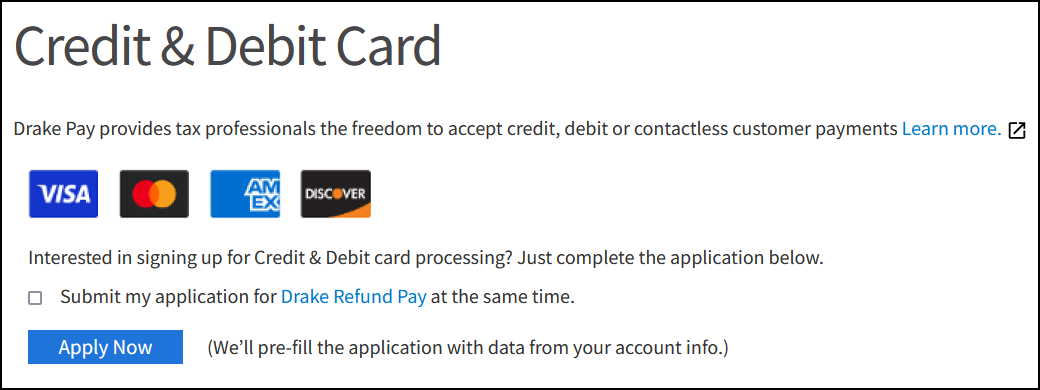
Important Do not check the box Submit my application for Drake Refund Pay at the same time unless you want to also offer that payment method.
-
Account details are prefilled where possible.
-
Complete the required information on the following tabs:
-
Business Information
-
Owner Information
-
Banking Information
-
Processing Information
-
Review Agreement(s)
-
-
Click Submit.
-
Once the application has been accepted, you will receive a confirmation email and see the status of Accepted when you log in to the Drake Software Support website. The confirmation email will have a link to the Back-Office Reporting portal (you will be prompted to set up a password).

Apply for Drake Refund Pay Only
If you would like to apply for Drake Refund Pay only, follow these steps:
-
Log in to the Drake Software Support website.
-
Go to Products > Drake Pay > Refund Pay.
-
Review the information and click Apply Now.

Important Do not check the box Submit my application for Credit & Debit card processing at the same time unless you want to also offer that payment method.
-
Account details are prefilled where possible.
-
Complete the required information on the following tabs, then click Submit.
-
Business Information
-
Owner Information
-
Banking Information
-
Processing Information
-
Review Agreement(s)
-
-
You can return to Products > Drake Pay to see your application status.
Note The status should be updated within the hour during normal business hours.
Post Application Changes
If you need to change your ID or bank account information after submitting an application, return to Products > Drake Pay > Drake Refund Pay and enter your updated information. Click Update to submit your changes.
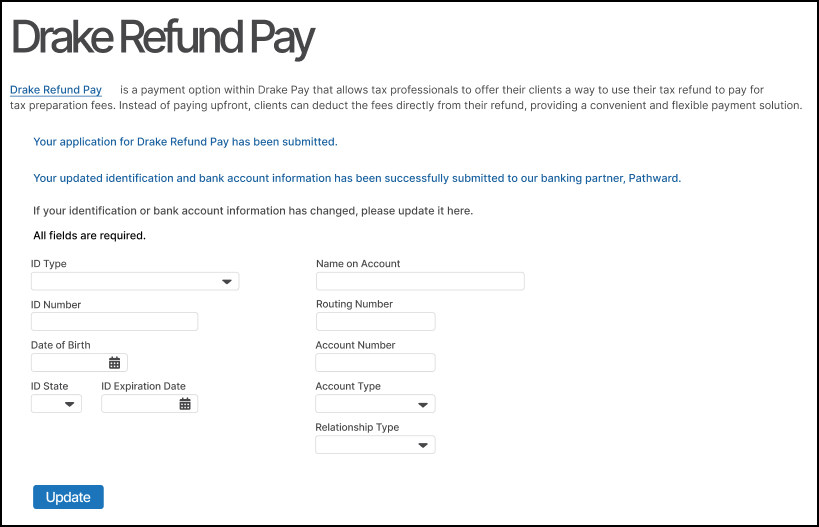
Note This will temporarily change your approval status while the changes are being processed.
Refund Pay Attestation
If your approval status is "Needs Refund Pay Attestation," follow these steps to complete your attestation:
-
Go to the Drake Software Support site > Products > Drake Refund Pay.
-
Click on Drake Refund Pay Attestation to open the file for review.
-
Once you have reviewed the file, you will be able to check the box.
-
Click Submit.
-
Once the Drake Refund Pay status shows accepted, go to Drake Tax > Setup > Firms.
-
Click Confirm beside the EFIN.
-
Click Save.