Drake Portals - e-Sign Online with Test Return
Article #: 16950
Last Updated: December 09, 2025

Yes, you can use practice return 500-00-1001 through 500-00-1008 to simulate the signature process from beginning to end without using an e-Signature Event.
For a demonstration, watch the video e-Sign Online Test Returns.
Note You must have an active Drake Portals (SFP) account to use Drake e-Sign Online. Make sure that the option Sign Forms is enabled on the Connect Features tab under Drake Portals > Account Settings before following these steps. More info about the Connect Settings are found in KB articles Drake Portals - Website - Connect Functionality and Drake Portals - Drake Tax Integration - Settings & Reports.
-
Open the practice return.
-
On screen 1, ensure that your email address has been entered as the "taxpayer's" email address.
-
View the return.
-
Select the forms to be included in the e-Sign document. Be sure to include Form 8879.
-
Click the eSign button.
-
Choose the radio button Sign online via Drake PortalsTM.
-
Click Continue.
-
Save the PDF.
-
Create a new portal for the "test" client using the same email address that you entered on screen 1.
-
Once the return has been uploaded, the File Upload Report will display. Click Exit.
-
A notification email will be sent to the email address entered in step 2 above.
-
If there is an existing portal for the email address, a link to review and sign the document will be included. If there is no existing portal, steps for activating the portal are also included in the email.
-
-
Follow the steps to set up and access the "taxpayer's" Portal account.
-
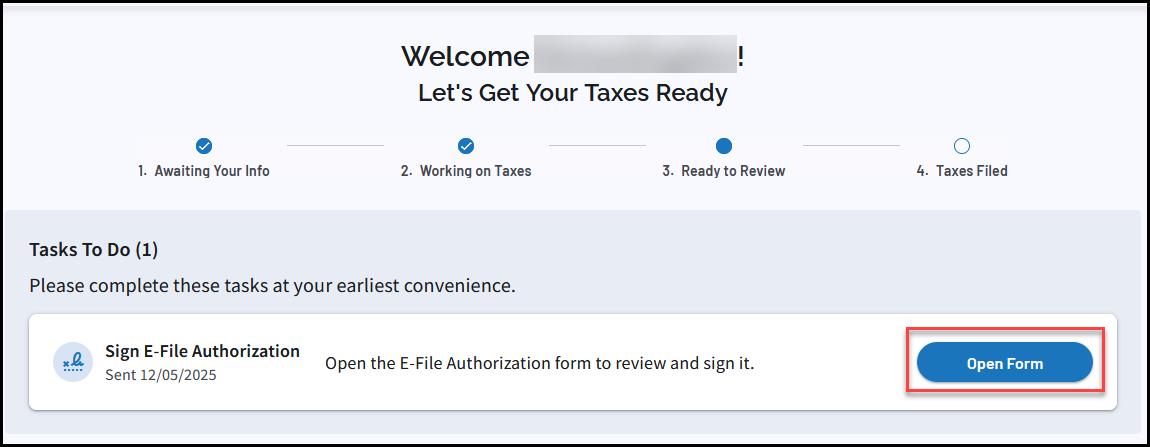
Select Open Form beside the Sign E-File Authorization task on the Home menu.

Note If the preparer uploaded a different type of signature document, the task label may vary (i.e., Sign Other Document, Sign Engagement Letter, etc.).
-
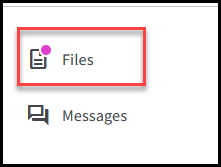
Alternatively, click the Filesmenu on the left (a dot signifies that there are new items).

-
Click the three-dot menu beside the item that says Needs Signature and choose Sign.

-
-
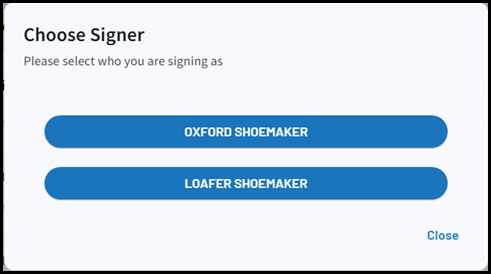
Select which taxpayer is signing (if prompted).

-
A notification window displays informing you of the Knowledge Based Authentication (KBA) Questions that must be answered to proceed. Click Continue to proceed.
-
A series of simulated questions will be displayed. Choose the radio button that says Correct and click Submit on each question.
Note In a real scenario, these questions would be based on the taxpayer's public and private data and are required to verify their identity. The taxpayer must answer three out of four questions correctly or they will be unable to complete their signature electronically.
-
Apply your eSignature by using a mouse, stylus, or your finger in the Capture Signatures box, and click Next.
Note Available input options vary depending on the device being used to sign (e.g. computer vs. mobile device or tablet).

Important If there is a secondary taxpayer (spouse) on the return, they must also complete the steps above. If there is only one taxpayer, continue below.
-
Repeat the steps to apply signatures to all remaining fields, then click Submit Signatures.
-
A copy of the signed PDF is available on the Files tab under the Documents from Preparer folder.
-
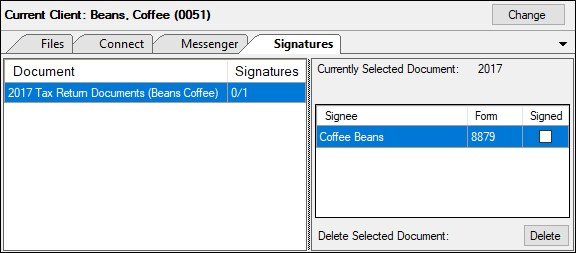
You will then receive notification (as the preparer) that documents have been signed.
-
Open Drake Documents to retrieve and review the signed PDF.
-
You can then drag and drop the file from the Documents from Preparer folder to the test client's Drake Documents folder, if desired.