Drake Accounting - Check Designer
Article #: 16439
Last Updated: December 05, 2024

Beginning in DAS20, the setup for MICR and pre-printed check stock has been combined under the Financial menu > Check Designer.
To create a check design, follow the steps below:
-
Select the Financial menu, then select Check Designer.
-
Select the New button.
-
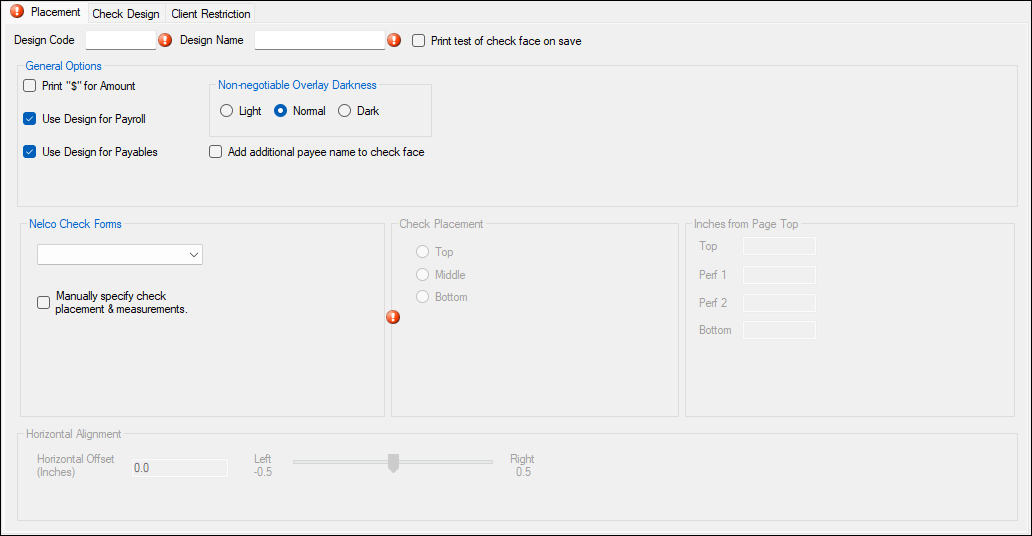
Placement tab (all items with red validators
 are required)
Placement tab (all items with red validators
 are required)
-
Design Code - Enter a code for the design (up to 8 characters)
-
Design Name - Enter a name for the check design (up to 50 characters)
-
General Options
-
Print "$" for Amount
-
Use Design for Payroll
-
Use Design for Payables
-
Non-negotiable Overlay Darkness
-
Add additional payee name to check face
-
-
Nelco Check Forms - Select the check stock to use, or select Manually specify check placement & measurements.
-
If selecting Manually specify check placement & measurements, make the applicable selections for Check Placement, Inches from Page Top, and Horizontal Alignment.
-
-
-
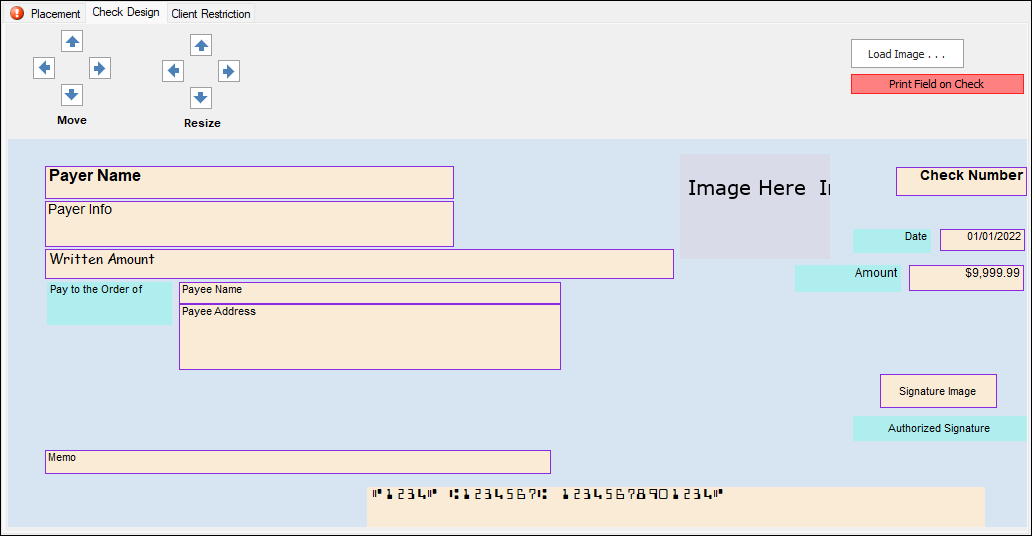
Check Design tab - Select the Font Name and Font Size. Select the items to include on the check face, and drag and drop to move or realign. Items can also be resized if necessary.
-
To include an item on the check face, select the desired field/item, then select Print Field on Check to change it from red to green.

-
-
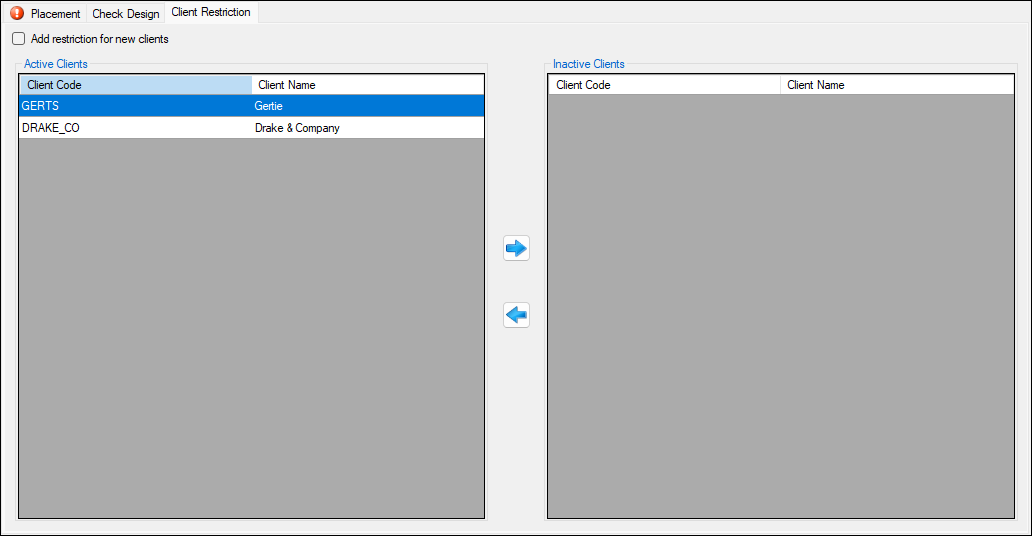
Client Restriction tab - Select which clients can use a specified design. Any clients in the Active Client column will be able to see and select the design.

-
Select Save.
In order to print checks, you will also need to complete the Payment Methods screen under the Financial menu.