Drake Portals - Guided Organizer
Article #: 19038
Last Updated: October 12, 2026

You can now create a customizable, dynamic onboarding form in Drake Portals. Add your own questions and use a client's prior-year return to generate a personalized document checklist.
To get started, log into Drake Portals follow these steps:
-
Select a client from the Clients list.
-
Click on the Questionnaires tab.
-
To the right of Try Guided Organizer, click Let’s go.

-
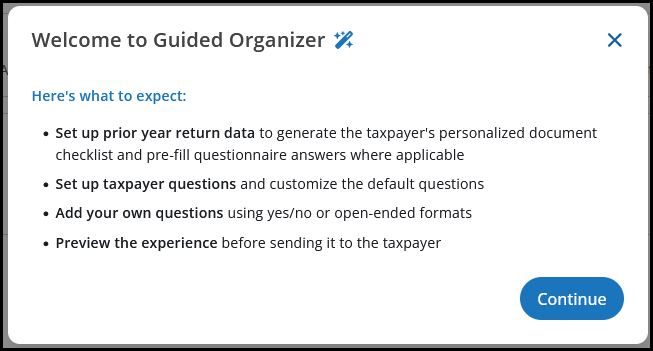
Review the Welcome screen, then click Continue.
-
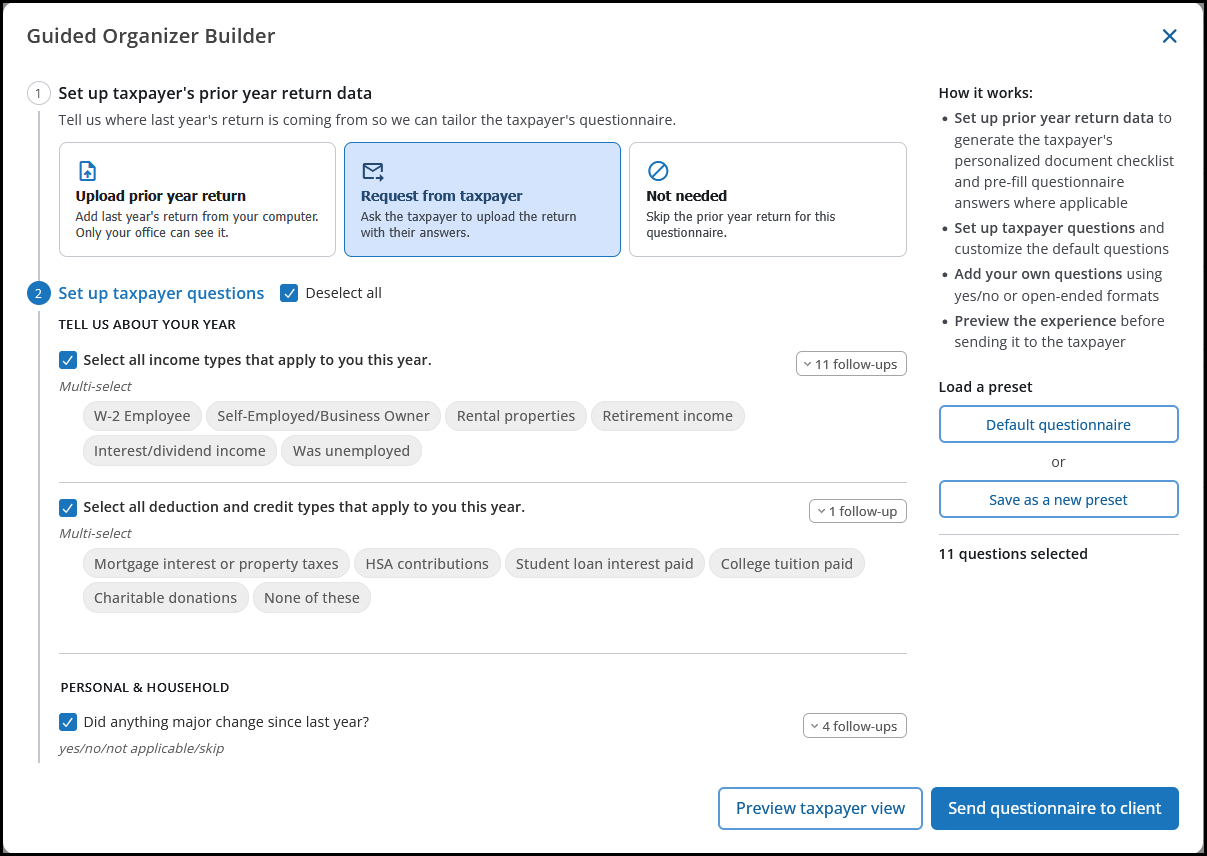
Configure the guided organizer.
-
First, choose a prior year return data option. This is used to generate the taxpayer's personalized document checklist and pre-fill questionnaire answers where applicable.
-
If you have a copy of the taxpayer’s prior year return, click Upload prior year return and browse to add it to the organizer.
-
If this is a new client, you can click Request from taxpayer and have them upload the return when they complete the organizer.
-
If you do not wish to have them upload their prior return, or a prior return is not available, click Not needed.
-
-
Next, configure and customize the list of taxpayer questions. You can also add your own questions using yes/no or open-ended formats.
-
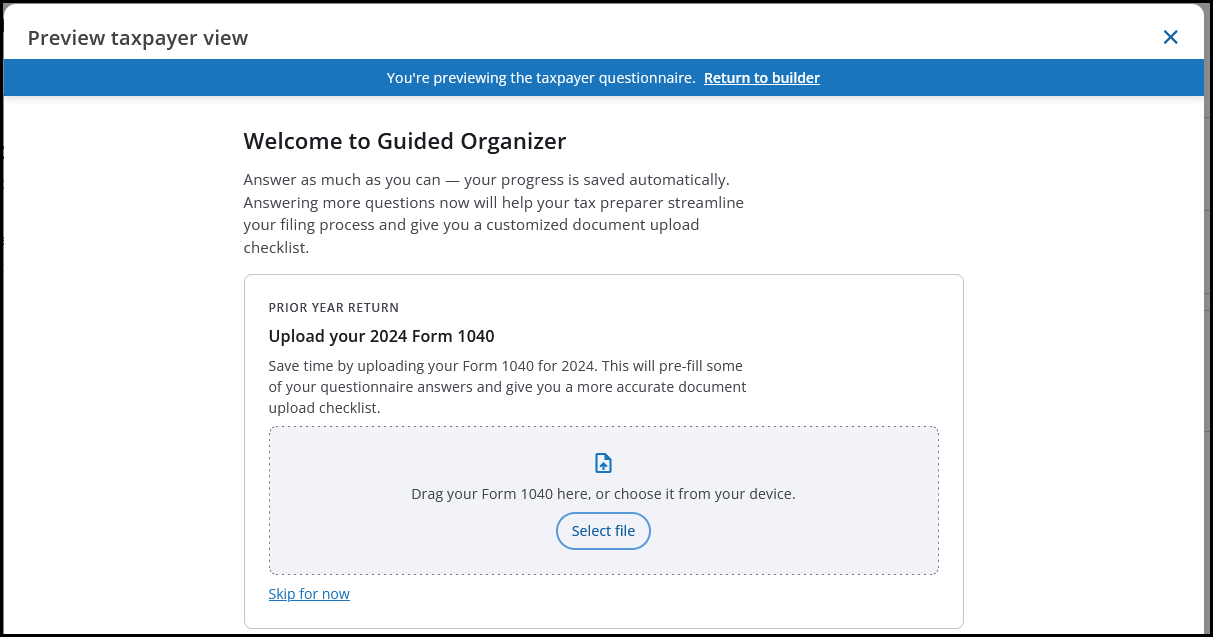
Click Preview taxpayer view to see the taxpayer’s experience before sending it to the taxpayer.
-
Save Preset (optional) - If you create a custom guided organizer for one client, you can choose the option Save as a new preset. Enter a Preset name and click Save. Then you can choose that preset option when building a guided organizer for another taxpayer. You can delete the preset if needed by clicking Delete this preset on the Guided Organizer Builder window.
-
When ready, click Send questionnaire to client. See below for the taxpayer steps.
-
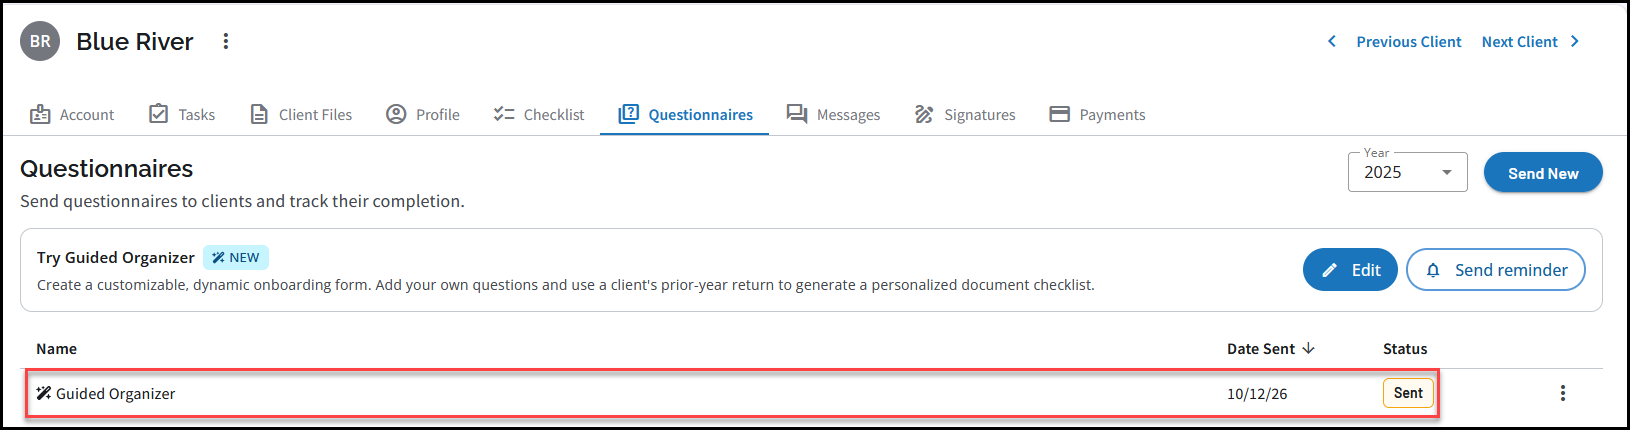
In the preparer portal, the status is displayed on the taxpayer’s Questionnaires tab:
-
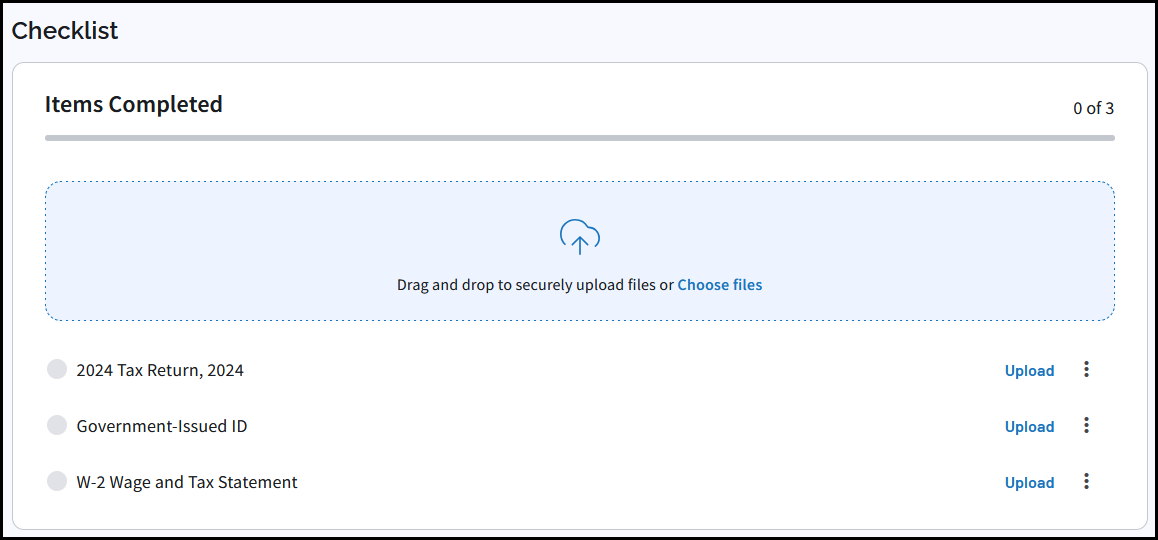
Once the taxpayer submits their completed organizer, the Questionnaires tab on the preparer portal will show a status of Completed. This also generates a custom Checklist based on their responses. You can add other items as needed by clicking on the Checklist tab and selecting Add Item.
Taxpayer View
-
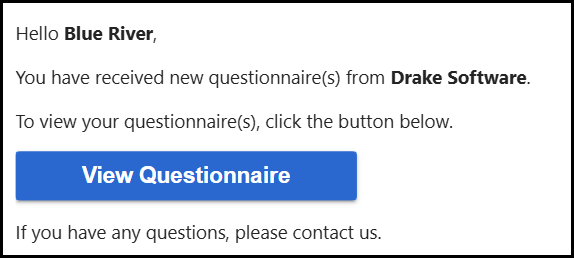
After you have completed the steps above, the taxpayer receives an email with a link to View Questionnaire in their unique client portal:
-
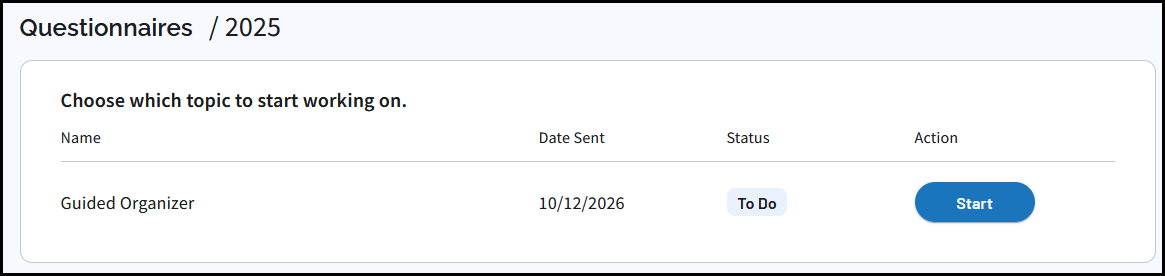
From here, they will launch the Guided Organizer by clicking Start:
-
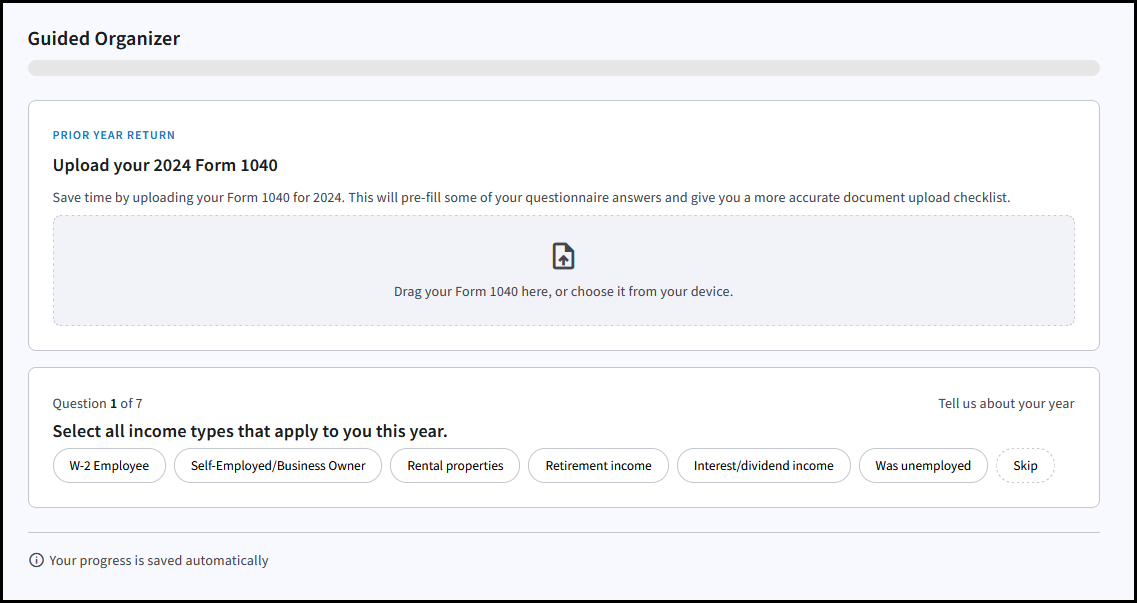
Progress is saved automatically as they proceed through the sections.
-
At the end, they will be able to review all answers, and then click Submit questionnaire. After submitting, they will receive a personalized document checklist so they know exactly which items need to be uploaded. The Checklist tab is automatically displayed in their portal so they can proceed with the upload in the same session.